When it’s time to clean your wooden deck before refinishing it, using a chemical deck brightener by hand-scrubbing might not fully clean it, but using a pressure washer can.
A pressure washer is a simple machine that cleans effectively using only water. However, if not used correctly, it can damage your deck. It’s powerful enough to clean bricks but can also be gentle on siding if handled properly.
Using too much pressure or getting too close to the deck’s surface can deeply damage the wood and cause splintering. Take some time to learn how to use the pressure washer before using it on your deck.
Related article:
Items needed
Equipment / Tools
- Pressure washer with a fan tip or rotating tip
- Optional: Sheets of plastic
- Optional: Random orbit sander
Materials
- Optional: Deck stripper/brightener
- Optional: Sandpaper
How to pressure wash your deck step by step
Adjust pressure setting
When selecting a spray tip and pressure setting for your pressure washer, it’s important to consider the type of wood you’re cleaning and the level of pressure it can handle.
Start by using the lowest pressure setting that effectively cleans the wood. For softwoods like cedar or pine, aim for around 500 to 600 pounds per square inch (psi). Harder woods may tolerate higher pressure, but it’s generally recommended not to exceed 1,200 psi to avoid damage.
For the spray tip, opt for a fan tip with a spread of 40 to 60 degrees. This wide-angle helps to distribute the pressure evenly, reducing the risk of causing damage to the wood surface. Alternatively, you can use a rotating tip, but exercise caution to ensure it’s used carefully to prevent any potential damage.
Test the setting
Before diving into cleaning with a pressure washer, it’s wise to conduct a test to ensure you’re using the right settings.
Begin by selecting a hidden or inconspicuous area, like a stair tread or a corner of your deck. This allows you to gauge the pressure’s effectiveness without risking damage to highly visible sections. Remember, it’s simpler to replace a damaged stair tread than a whole deck board.
Start at a gentle pressure of 500 to 600 pounds per square inch (psi). Gradually increase the pressure in small increments until you achieve the desired cleaning power. By testing the pressure washer settings in a controlled area first, you can avoid accidentally etching or damaging your wood surfaces and find the optimal setting for effective cleaning.
Now, wash the deck
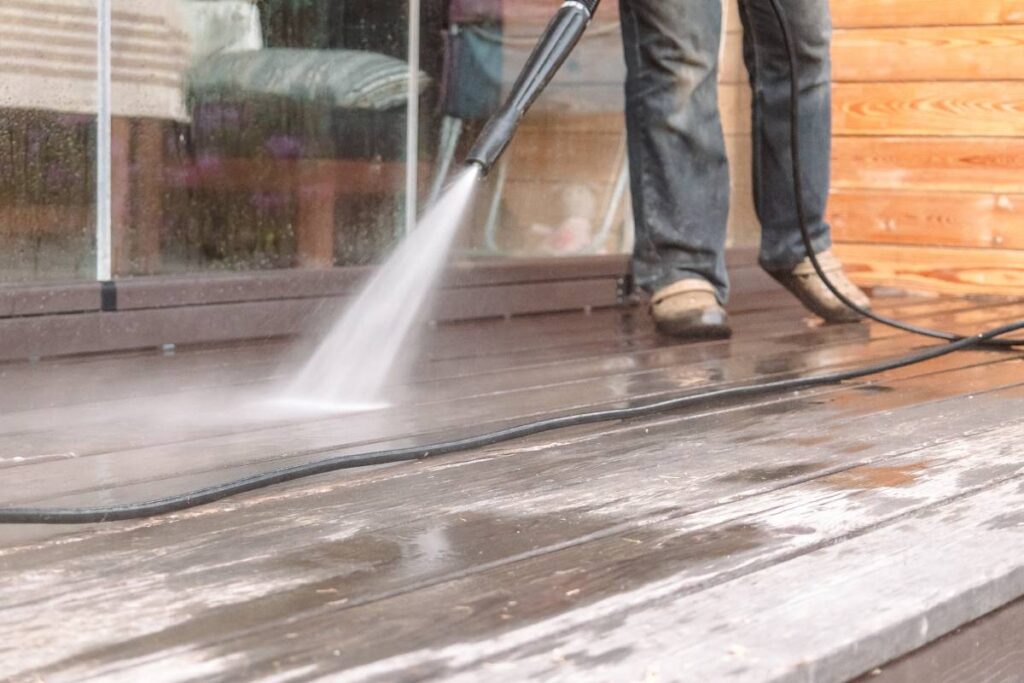
To effectively power wash your deck, follow these steps:
- Start by engaging the trigger of the pressure washer while holding the wand tip a few feet away from the deck surface. Gradually lower the wand as needed, but be cautious not to get closer than six inches to prevent wood damage.
- Clean the deck using a sweeping motion, avoiding pivoting your arm, which can lead to inconsistent distance between the spray tip and the deck surface. Instead, maintain a steady lateral movement to ensure even cleaning.
- Begin cleaning the deck boards from the house outward. Work with the grain of the wood, feathering the spray lengthwise and parallel to the deck boards. Overlap each cleaned area slightly to ensure thorough cleaning without leaving behind “hot spots” or visible edges.
By following these steps and techniques, you can power wash your deck effectively, achieving consistent and thorough cleaning results while minimizing the risk of damaging the wood surface.
Consider using a chemical stripper/brightener (optional)
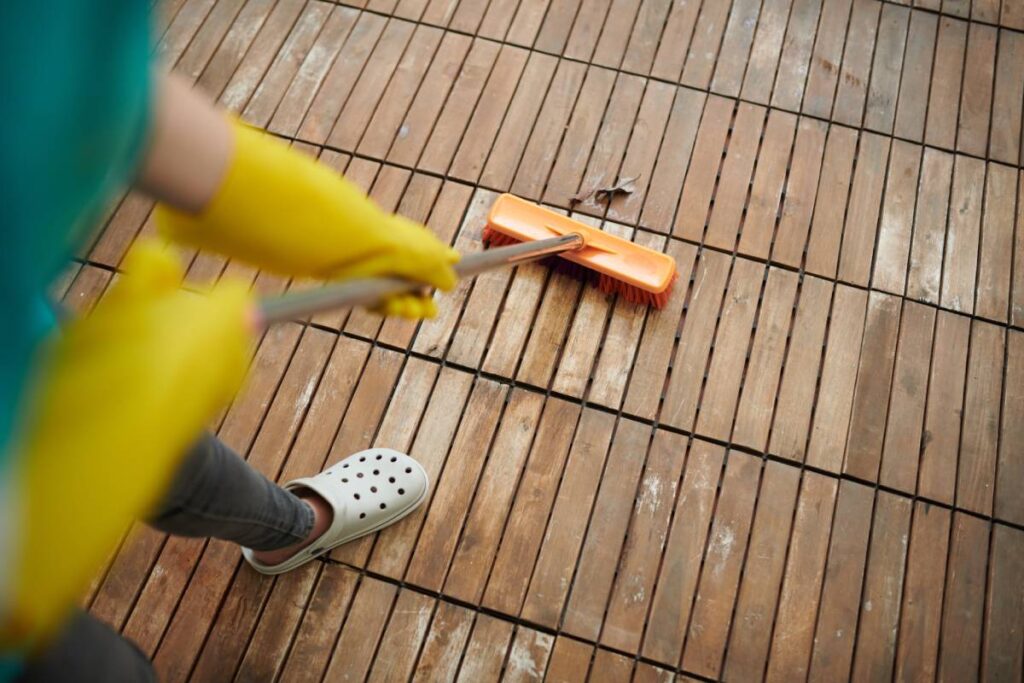
If your wood deck is heavily discoloured or stained with mildew, employing a deck-cleaning solution containing sodium hydroxide can help restore its brightness. Look for a product specifically formulated for brightening deck wood and compatible with pressure washers. Ensure your pressure washer can handle cleaning solutions.
Follow the manufacturer’s instructions to prepare the solution. Apply the stripper solution using the same method as when pressure washing with water alone, then rinse thoroughly with plain water. Keep in mind that stripper/brightener products may roughen the wood fibres, necessitating complete sanding of the deck before restaining or sealing.
Choosing a chemical stripper or brightener can effectively tackle tough stains and bring out the natural charm of your wood deck. Just be sure to adhere to the manufacturer’s instructions and properly prep the deck for refinishing afterwards.
How to refinish the wood deck after pressure washing?
Sanding
After power washing your wood deck, it’s important to address any raised fibres or rough surfaces that may have resulted from the water exposure. This is especially crucial for areas like handrails, where raised fibres can lead to splinters and discomfort. Fortunately, there are effective solutions to smooth out these surfaces.
If your power washing job was done carefully and caused minimal damage, spot-sanding may be sufficient to clean up any rough spots. However, if you’re planning to refinish the deck by restaining or resealing it, a more thorough sanding process is necessary to achieve smooth boards with minimal splintering. Additionally, sanding helps to open up the wood’s pores, allowing for better absorption of the sealer or stain. It’s essential to ensure the wood is completely dry before beginning the sanding process to avoid any complications.
When sanding, it’s advisable to avoid using very fine sandpaper, as this can clog the pores of the wood, making it difficult for the stain or sealer to penetrate effectively. For handrails, opt for sandpaper with a grit no finer than 100. For the deck surface itself, use slightly coarser sandpaper in the range of 60 to 80 grit. The most suitable sander for sanding a wood deck is a random orbit sander equipped with a five-inch sanding pad.
Select a wood stain
In the past, it was common to apply a wood stain followed by a clear surface sealer. However, modern products typically combine both colouring and protection in one step, with penetrating stains being the norm. These stains soak into the wood to provide colour and protection simultaneously. Alternatively, clear sealers are available, but they offer less UV protection compared to pigmented deck stains.
There are different types of stains to choose from, including semi-transparent stains that allow the wood grain to show through and opaque stains that provide more of a painted look, hiding the wood grain. Stains can also be water-based or oil-based. While water-based stains offer easy cleanup, experts generally agree that oil-based stains provide longer-lasting protection and penetrate the wood more thoroughly.
For optimal results, many recommend using a high-quality oil-based, penetrating, exterior semi-transparent stain. While these may not be readily available at big box stores, visiting a professional paint store is worth the effort.
Keep in mind that the actual colour of the stain may vary from samples or brochures. To ensure the desired outcome, test the stain on a small area of your wood deck before committing to a larger quantity. This way, you can confirm how the stain will look on your specific wood species before making a final decision.
Choose the right brush
For staining or sealing the main deck surface, a paint pad applicator is often the most effective tool. This ensures even coverage and smooth application. However, when it comes to intricate or detailed areas, such as corners or edges, paintbrushes are necessary for precision work.
When using an oil-based product, opt for a natural bristle brush to ensure proper application and finish. For water-based stains, synthetic bristle brushes are recommended. It’s advisable to have a range of brush sizes on hand to tackle various areas and details effectively. By choosing the right brushes for your staining project, you can ensure a professional-looking result with minimal hassle.
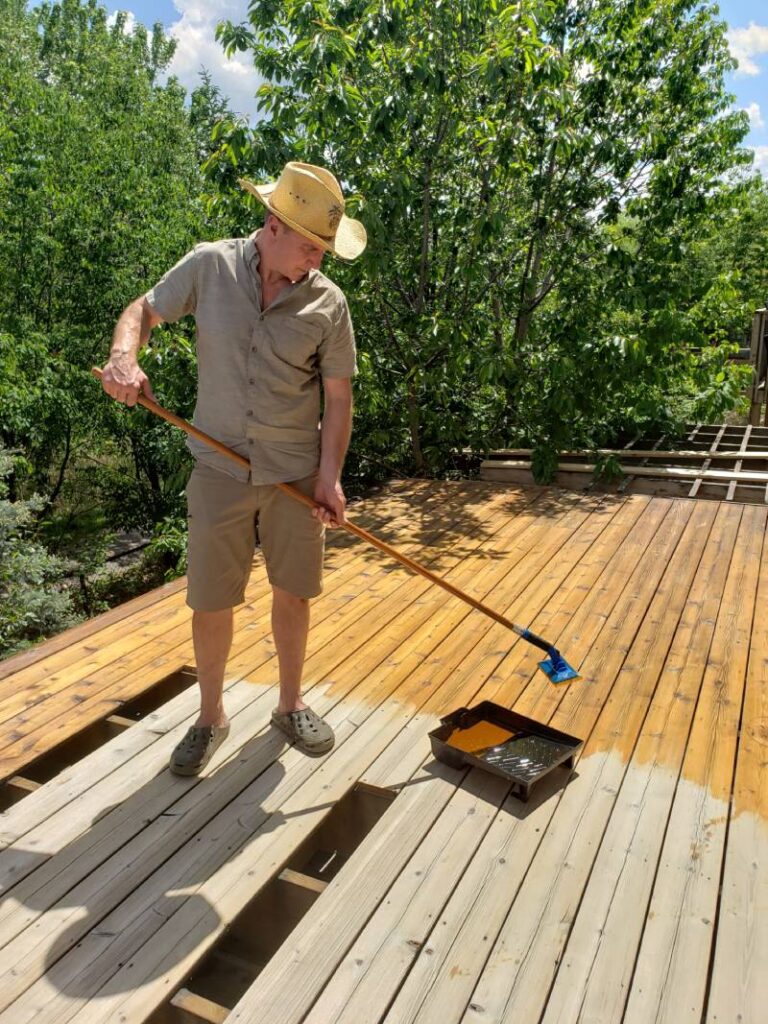
Apply the stain
When it’s time to apply the stain to your deck, it’s the moment when all your efforts pay off. Before you start, ensure the deck is completely dry, especially for oil-based stains, as any moisture can hinder proper absorption.
Begin by staining the handrails first, then move on to the deck boards. Utilize different brush sizes for precision in small areas like handrails, balusters, and trim boards. Complete all detailed brushwork before moving to the larger decking surfaces.
For staining the surface decking boards, a flat paint-pad applicator is ideal. This tool allows for quick coverage of large areas, helps maintain a wet edge, and ensures an even application of the stain. Apply the stain generously with the applicator, allow it to soak in briefly as per the manufacturer’s instructions, and then wipe away any excess with a rag. Avoid letting pools of stain dry on the surface.
Final note
A pressure washer is versatile for various home tasks. If you don’t want to buy one, renting is an option from home improvement centres or rental outlets, typically ranging from $40 to $100 per day.
Alternatively, hiring a professional pressure washer is an option, with costs in Australia varying from $150 to $325 depending on the size of the area and the complexity of the job.